Even a Code-Illiterate Built It! Home Server Journey (4) — Running AI Locally with Ollama

e스포츠, pc 설정, rgb 조명의 무료 스톡 사진

Running AI on My Own Server?

ChatGPT, Gemini, Claude… everyone uses cloud AI. But have you ever thought:

“If I run AI on my own computer, it’s free AND my data stays private?”

That’s exactly right. Running a local LLM (Large Language Model) means no subscription fees and zero data leaving your machine. Perfect privacy.

But reality is… a bit different. I installed AI on my SER9 MAX mini PC from Episode 1, and the honest verdict? “It works. But it’s slow.”

DeepSeek AI 인터페이스를 보여주는 MacBook으로 디지털 혁신을 선보입니다.
Photo by Matheus Bertelli / Pexels

Ollama — The Local LLM Engine

Ollama is a tool that lets you run AI models on your own hardware. Sounds complicated? I had AI install it for me. A few terminal commands and done.

Once installed, one command — ollama run qwen3:14b — and the AI starts responding. The model downloads automatically, no configuration needed.

There are dozens of open-source models available: Llama, Qwen, Gemma, Mistral, DeepSeek… all free. Pick whichever fits your needs.

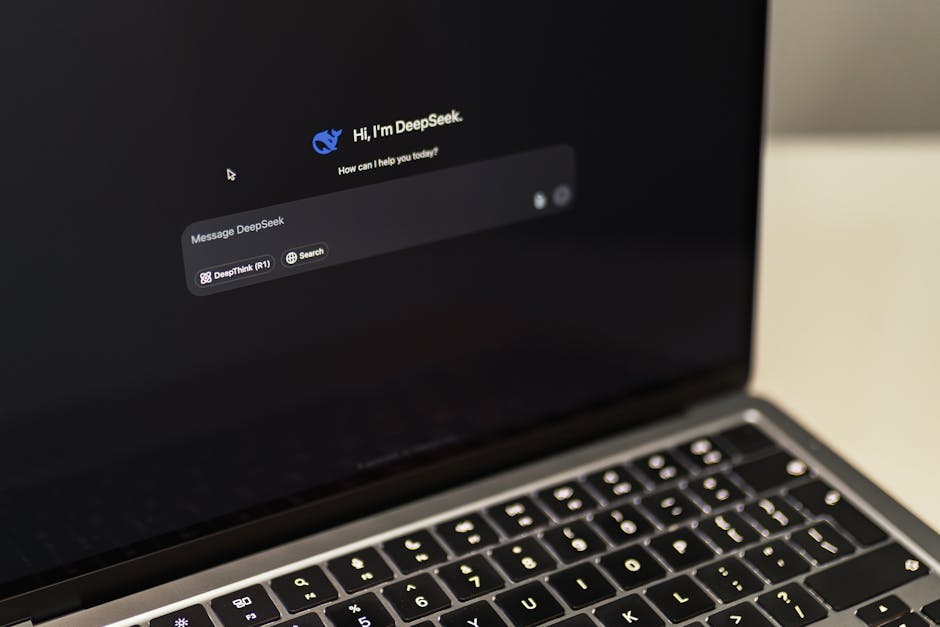
Open WebUI — ChatGPT Interface in Your Browser

Chatting in a terminal is honestly uncomfortable. So I installed Open WebUI — a program that gives you the exact same ChatGPT-like interface, running entirely on your server.

Again, AI handled the installation. One Docker container and it’s running.

The best part? My wife uses it too. Anyone on the same network can open a browser on their phone or tablet and start chatting. You can create separate accounts, so conversation history stays private for each person. With Tailscale from Episode 2, it’s accessible from anywhere.

DeepSeek 애플리케이션이 있는 대화형 AI 인터페이스를 보여주는 노트북 이미지.
Photo by Matheus Bertelli / Pexels

Specs vs. Reality — This Is What Matters

The most important question in local AI is “Can my hardware actually handle it?” Here are my real-world numbers.

My Server Specs

Component Specification
CPU AMD Ryzen 7 255 (8 cores, 16 threads)
RAM DDR5 32GB
GPU Integrated (AMD Radeon 780M) — effectively none
Storage NVMe SSD 1TB
OS Windows 11 + WSL2 (Linux)

Real Benchmarks (Qwen3 14B Model)

Metric Value
Generation Speed 5.5 tokens/sec
Simple Question Response ~25 seconds
RAM Usage ~10GB
Quantization Q4_K_M (9.3GB file)

What ChatGPT answers in 1 second takes my server 25 seconds. That’s roughly 5-10x slower in real usage. Watching characters appear one by one is… a patience test.

Why So Slow?

No dedicated GPU. AI inference is optimized for GPU computing, but my mini PC only has integrated graphics. I’ve confirmed that the AMD 780M iGPU can’t be used for AI acceleration under WSL2. Everything runs on CPU only — hence the speed.

With an NVIDIA GPU? The same model runs 5-10x faster. An RTX 4060 can push 30+ tokens/second. But you can’t put a discrete GPU in a mini PC — that’s desktop or gaming laptop territory.

RAM Determines Model Size

The most important spec for local AI is RAM. The entire model loads into memory.

RAM Model Size Quality
8GB 7B (7 billion parameters) Basic chat OK, struggles with complexity
16GB 14B (14 billion parameters) Decent conversation, handles general tasks
32GB 14B + headroom / can try 30B Comfortable 14B + other services running
64GB+ 70B (70 billion parameters) Approaching ChatGPT quality

7B vs 14B vs 70B — bigger means better. 7B handles simple chat but frequently hallucinates on complex questions. 14B is the minimum threshold where it feels “actually usable.” 70B jumps in quality but needs 40GB+ RAM.

That’s why I have 32GB. Running a 14B model while also keeping other Docker services (Immich, WordPress, n8n, etc.) alive requires the headroom.

선명한 노란색 표면의 T-Force Delta RGB DDR5 메모리 모듈.
Photo by Andrey Matveev / Pexels

So Is It Worth It?

Here’s my honest summary:

Worth it for:

  • Simple conversations, translation, summarization — slow but delivers results
  • Privacy-sensitive content — analyzing confidential work documents
  • Offline use — on a plane, in areas with no internet
  • Connecting AI to other apps — unlimited API calls, zero cost

Not worth it for:

  • Coding, complex analysis — cloud AI is overwhelmingly better
  • When you need fast responses — if you can’t wait 25 seconds
  • When you need current information — local models don’t know anything after their training date

The core value of local AI is “free” and “privacy.” If you’re expecting performance, you’ll be disappointed. But if those two things matter to you, it’s absolutely worthwhile.

Next Episode Preview

So far we’ve covered building the server, remote access, photo backup, and local AI. Next up is the piece that ties everything together — an AI agent and Telegram bot. Send a message on Telegram, and AI handles the rest. Building your own digital assistant.

EP.5 — AI Agent + Telegram: Putting a Secretary on Your Server. Stay tuned.

[Computer Play] Even a Code-Illiterate Built It! My Home Server Journey (1) – Starting with SER9 MAX, Windows 11, WSL2, and Docker 💻🚀 (feat. Claude & Claude Code)

선명한 노란색 배경에 골드 인증을 받은 고효율 850W 전원 공급 장치입니다.

[Computer Play] Even a Code-Illiterate Built It! My Home Server Journey (1) – Starting with SER9 MAX, Windows 11, WSL2, and Docker 💻🚀 (feat. Claude & Claude Code)

Hello, I’m Toaster! 🙋‍♂️ Today, I’d like to share the first story of an exciting project I embarked on: building my own home server. To be honest, I’m completely illiterate when it comes to code or computers. Yet, driven by growing costs of cloud services and concerns about my data sovereignty, I decided to create ‘my own playground.’ The journey began with a mini PC, the Beelink SER9 MAX. A special highlight is that this entire journey started with Claude, and the installation process was seamlessly handled by Claude Code!

1. Why Did I Want to Build a Home Server? And Why SER9 MAX? ✨

Initially, I used cloud servers. However, as time went on, the monthly costs became a burden, and I felt a vague unease about my precious data being stored somewhere else. So, I decided to ‘manage a server directly with my own hands.’ I dreamed of a digital playground operated in my own space, under my own rules. 🏰

I spent a lot of time considering which hardware to choose for building a home server. After comparing several mini PCs, the Beelink SER9 MAX caught my eye. 10 Gigabit Ethernet, dual M.2 NVMe slots, DDR5 memory, and an efficient AMD Ryzen 7 H255 processor! It boasted incredible specs for its small size. I vividly remember the excitement of ordering it from Amazon and waiting for its arrival. 📦 Throughout this entire process of exploration and decision-making, Claude provided invaluable assistance with various information searches and comparative analyses.

2. Is Windows 11 Suitable as a Home Server OS? 🤔

When I received the SER9 MAX, I found that Windows 11 was pre-installed. Typically, when people think of a home server, Linux often comes to mind, but I’m familiar with the Windows environment, and installing a new Linux server OS right away seemed cumbersome. So, I decided to use Windows 11 as is.

The advantages were clear. The familiar UI/UX made initial setup incredibly convenient, and its compatibility with various Windows software was excellent. For purposes like a media server or simple file sharing, it was quite appealing. However, there were also clear drawbacks. Compared to Linux-based server operating systems, Windows generally consumes more system resources like CPU and RAM, meaning that 24/7 stable operation requires more attention. The absence of advanced features like Remote Desktop Server and Hyper-V in Windows 11 Home was also a downside.

3. A Small Linux World Within Windows: My WSL2 Installation Journey 🐧

I learned that `WSL2 (Windows Subsystem for Linux 2)` was essential for installing `Docker` on my home server. This is because `Docker Desktop` uses the `WSL2` backend to run Linux-based containers on Windows. At first, I was worried it might be complicated, but I entrusted the installation to Claude Code, and it handled everything seamlessly.

Opening PowerShell with administrator privileges and entering the `wsl –install` command automatically installed `WSL` along with a default `Linux` distribution (for me, `Ubuntu`). Even setting `WSL2` as the default version after rebooting was handled by Claude Code without any fuss, leading to a successful and quick setup! It felt amazing to have my own mini Linux server within Windows. 🤩

4. The Magic of Containers: Docker Desktop Installation and Integration 🐳

With `WSL2` installed, it was time to install `Docker Desktop`, the core of my home server. `Docker Desktop` is a truly powerful tool that enables easy building and running of Linux-based containers on `Windows` via the `WSL2` backend.

I downloaded the `Docker Desktop for Windows` installer from the official `Docker` website and began the installation. During the process, I carefully ensured that the ”Use WSL 2 instead of Hyper-V” option was selected. After installation, I went to the `Resources > WSL Integration` tab in `Docker Desktop` settings and enabled integration with the `Ubuntu` distribution. Claude Code took care of all these steps automatically, so I simply had to observe.

Finally, when I opened the `Ubuntu` terminal and entered the `docker –version` and `docker run hello-world` commands, I felt a sense of accomplishment seeing the “Hello from Docker!” message. 🎉 Now, even complex server environments can be managed simply at the container level!

5. Conclusion: Taking the First Step in Building My Home Server 💖

Thus, starting with the SER9 MAX, I successfully took the first step in building my own home server by installing `Windows 11`, `WSL2`, and `Docker`. Throughout this entire process, Claude and Claude Code were like capable assistants, with Claude providing accurate information and Claude Code executing the commands, which was incredibly reassuring. I realized that even someone like me, who knows little about code or computers, can achieve this. 🤝

In the next installment, I plan to discuss how to deploy various home server services using `Docker Compose` on the environment built today, and how to configure network settings for secure external access. Please look forward to it! 😉